Last Updated on June 4, 2022 by Sunny Staff
Newsletters are good for just about anyone in any industry. The primary goal of a newsletter is to inform the reader or ideally readers of mass blocks of information as it pertains to their subscription to a business, service or brand. Newsletters are often seen with headlines and multiple subheadlines with information for the reader.
Newsletters have been around for decades, distributed in offices to update employees on upcoming events and conferences, distributed throughout schools to update students and parents on lunch options and events as well as by business professionals who want to inform their readers what they are up to, pitch a service while also giving event information that pertains to their business or brand.
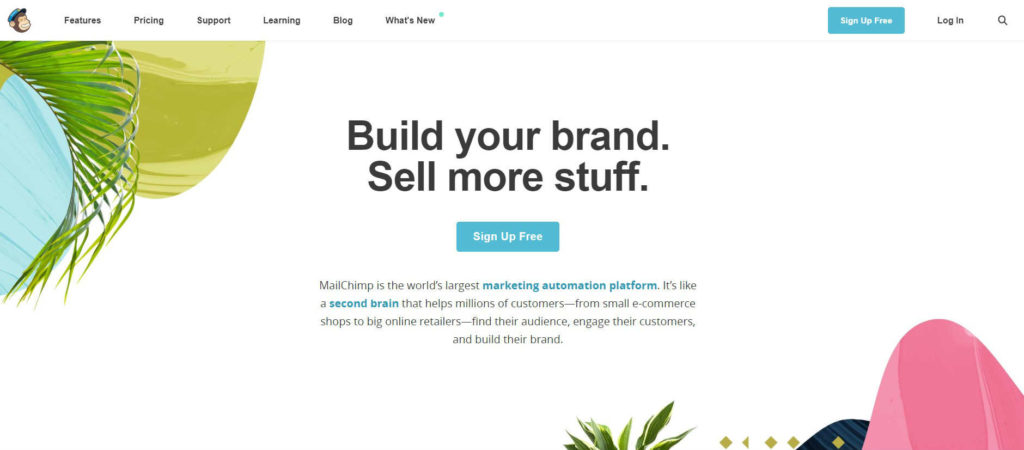
So, why doesn’t everyone use a newsletter in their line of work? Tzhe answer is simple, we overcomplicate the process! In our age of information, we now have options through third-party services like MailChimp that automate everything. From emails to newsletters, MailChimp and other applications are a one-stop shop for information to be spread with minimal effort and targeted engaging results.

This article will explore how to create a MailChimp newsletter in WordPress and provide more information on why it is important for you and your business to create and distribute one weekly, bi-weekly or monthly! Read on to find out more.
Step by step instructions
- First, you’ll need to create an RSS campaign within MailChimp which can be found on the Campaigns page after you log into your MailChimp account. If you haven’t created a MailChimp account yet, it is very easy to do.
- Select Create a campaign and then Create an email. Under the category Create an automation email select Share blog updates. At this point, you will be asked to add a list, which will be the subscribers to your newsletter or blog.
- Next, you will create a name for your campaign and directly underneath select Newsletter from the selection. Now you will want to activate and isolate your RSS feed URL and select a time that works best for your campaign. This is an easy way to automate during high traffic times so your audience can see your email when the time comes.
- Here you can choose daily, weekly, monthly and the repetition to which you will be sending out your emails and newsletters is completely up to you. Here you will be able to resize RSS feed images and select and adjust templates as needed.
Creating your newsletter
This is where MailChimp makes it easy to select a template from the design panel portion of the website. You are able to choose from six or more templates. Customize your selected template and design it to your liking. Customize with font, color, borders and pictures that work with your brand what with what you want to communicate with your audience.
Now you will select start RSS to start your campaign based on the time you decided to automate and send out your emails. After you’ve created your template, loaded in emails to your campaign list, inserted photos and content, you can create a button or sign up for my newsletter link directly on your website.
How to add a link to your newsletter on your website
Creating a marketing funnel like this will enable you to lock in your subscribers, send them notifications about your business or news about your brand and then send them to your website and create more traffic and more business
From there you will select the newsletter and create a newsletter form by selecting WPForms » Add New. Then, you will select Newsletter Signup Form template. If you choose, edit your subscribe to my newsletter form by using the simple drag and drop icons. If you have done any customizing on your form, select the Marketing tab and select MailChimp.
Click Add New Connection, input a name for the connection and hit OK. Authorize the MailChimp account by specifying an API key and then into your WordPress dashboard.
Now you will have the option to configure your settings. Input your key into MPForms, configure through the options and in conjunction with the lists you’ve created, implement the MailChimp group settings, match the fields to the form you’ve created and voila! You’ve just done it!
Check out our other blog posts for more information and details about WordPress and automated emails.


